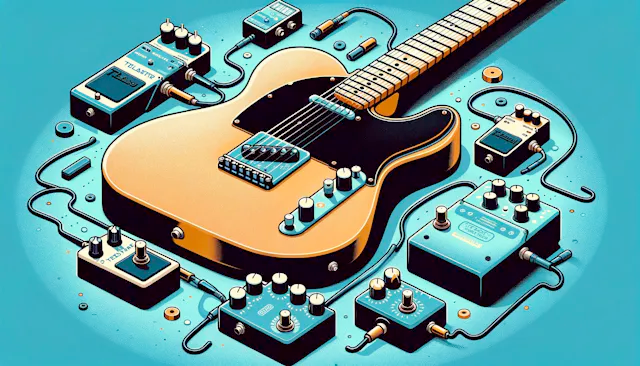
The Ultimate Guide to Guitar Pedal Signal Chain Order
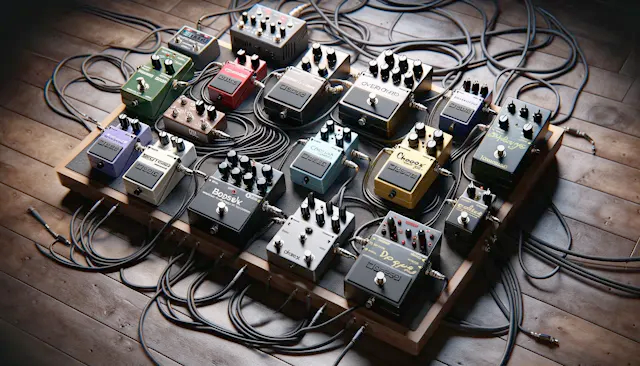
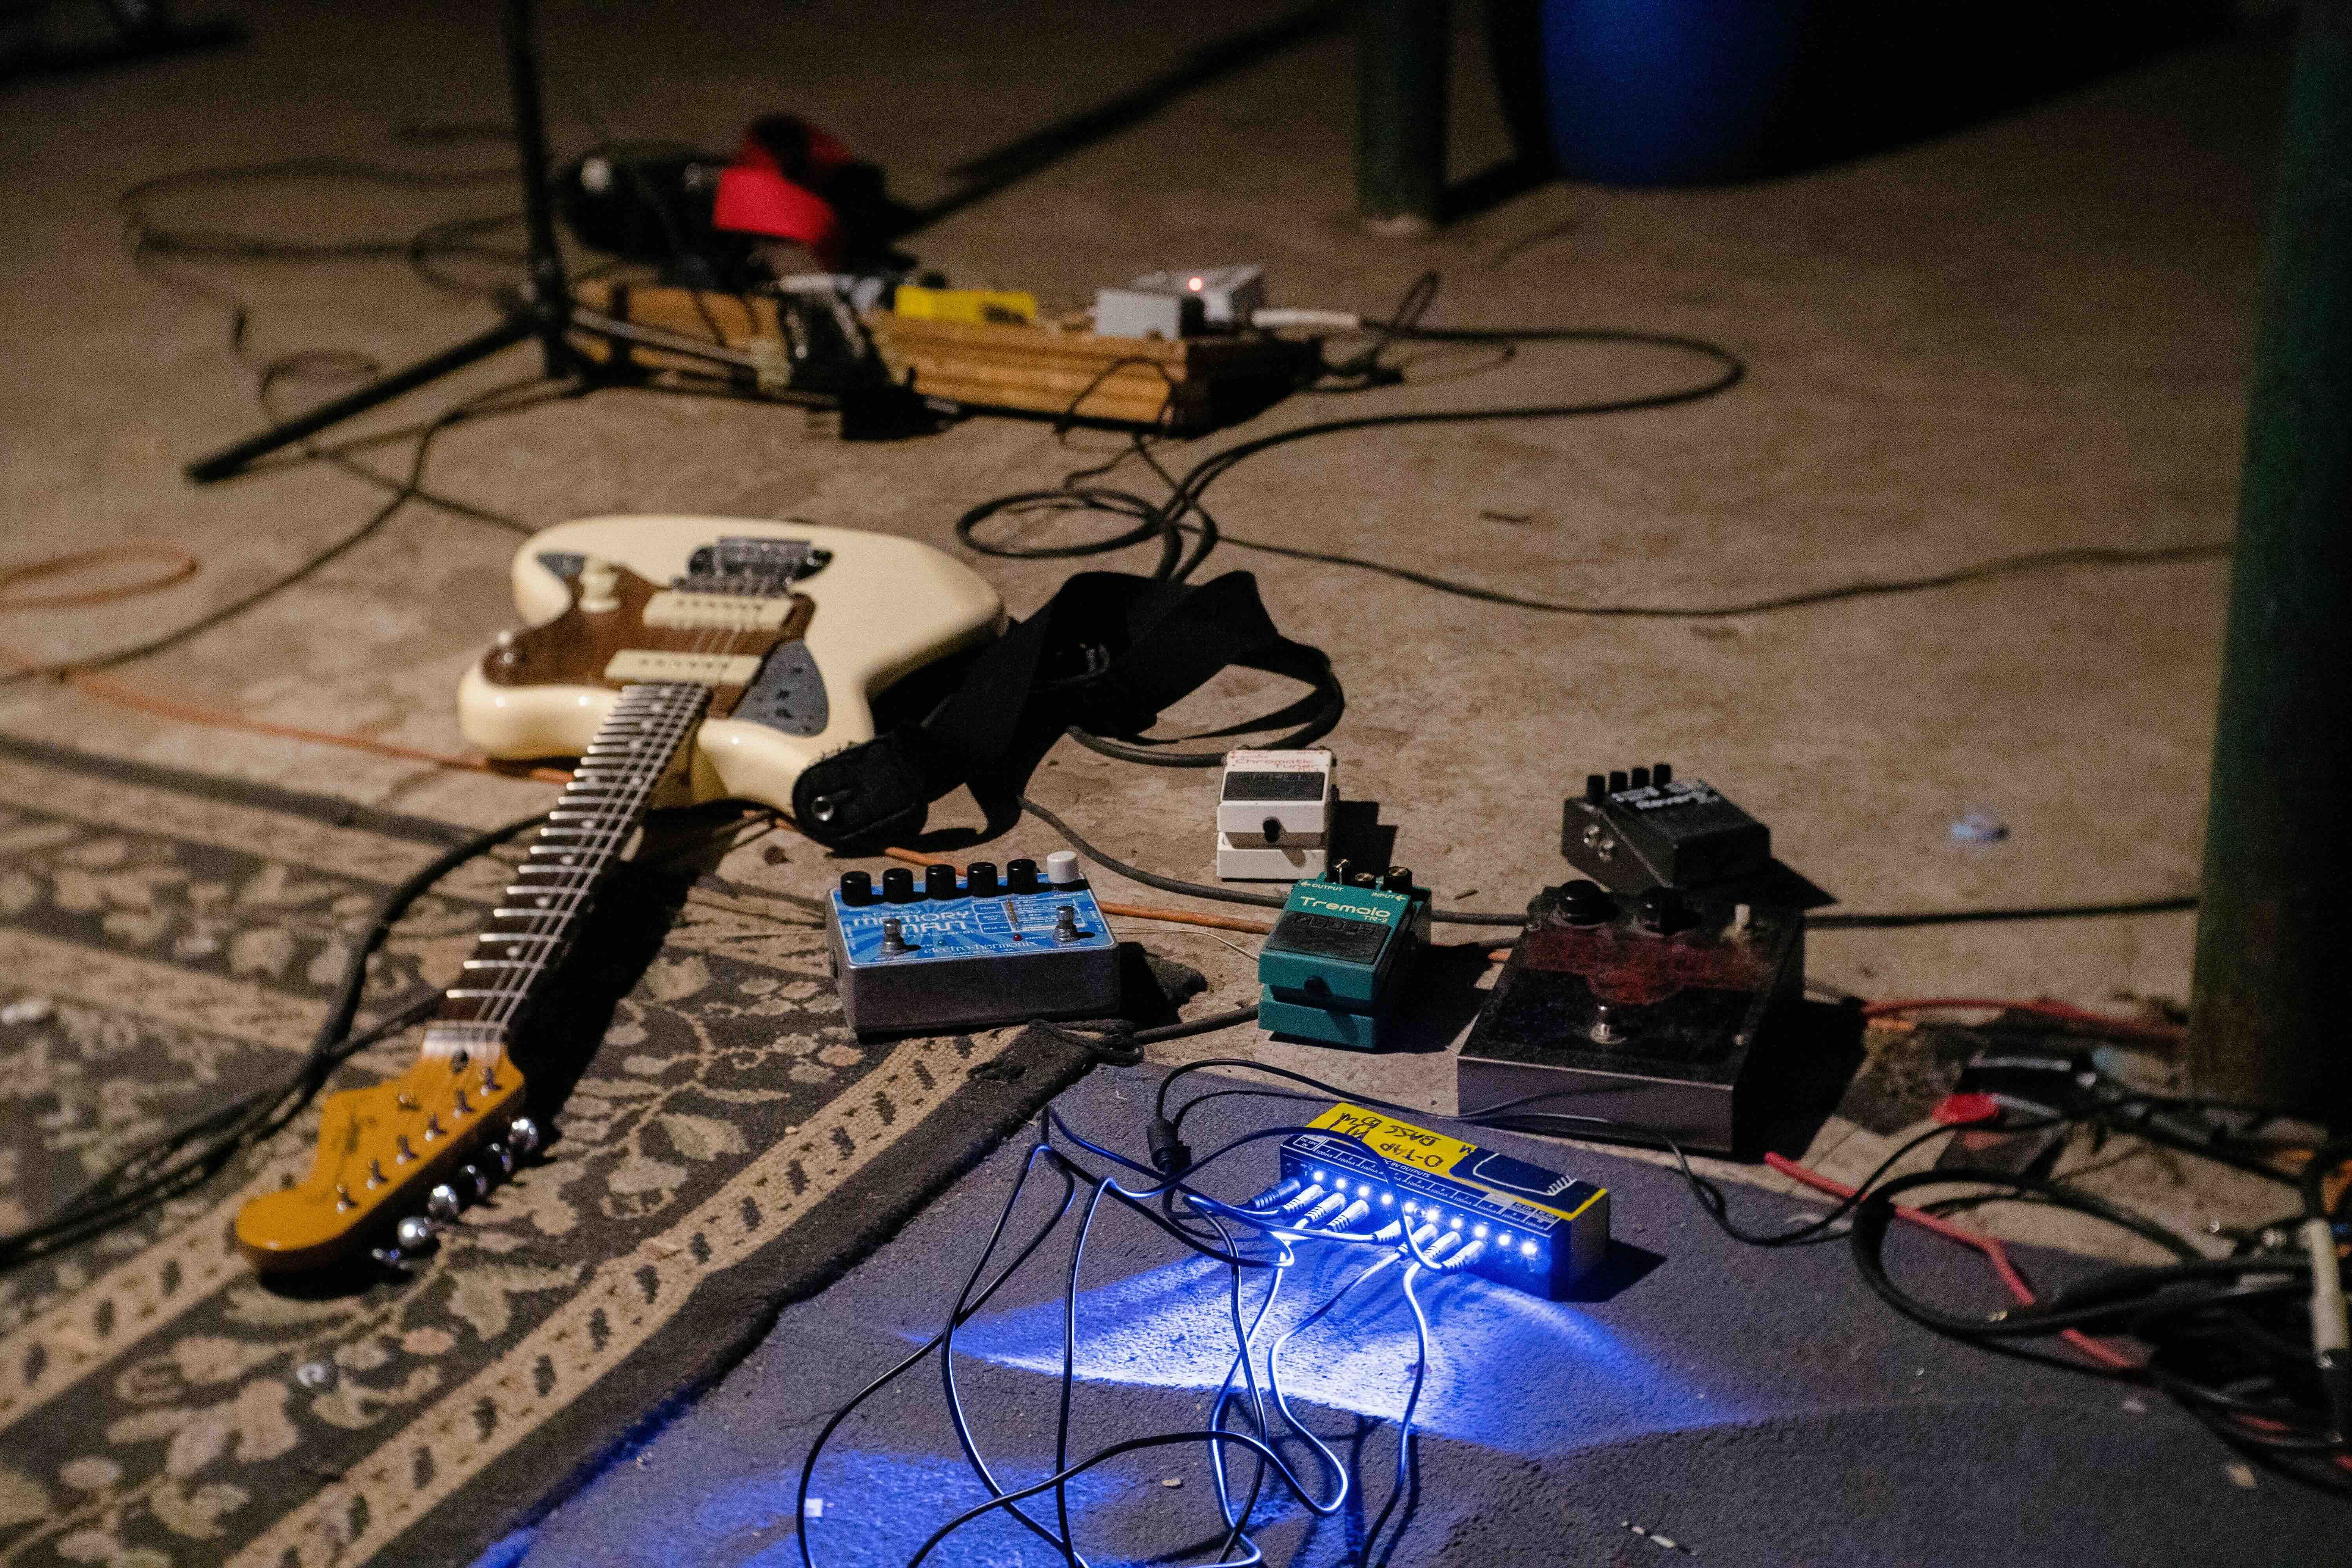
Guitar pedals are the building blocks of your unique sound, offering endless possibilities for tone customization. Yet, with great power comes great responsibility—the order in which you chain your pedals can dramatically affect your overall sound.
Many guitarists, from beginners to seasoned professionals, often overlook the importance of pedal signal chain order, leading to common misconceptions and missed opportunities for tonal enhancement. This guide aims to demystify pedal arrangement, providing you with the knowledge to optimize your setup for the best possible sound.
Understanding the Basics
Before diving into the specifics of pedal ordering, it's crucial to grasp what a signal chain is and why it matters. Simply put, a signal chain is the path your guitar's signal takes from the moment it leaves your instrument until it reaches your amplifier. Along this path, every pedal you engage modifies the signal, adding effects or altering the sound in various ways.
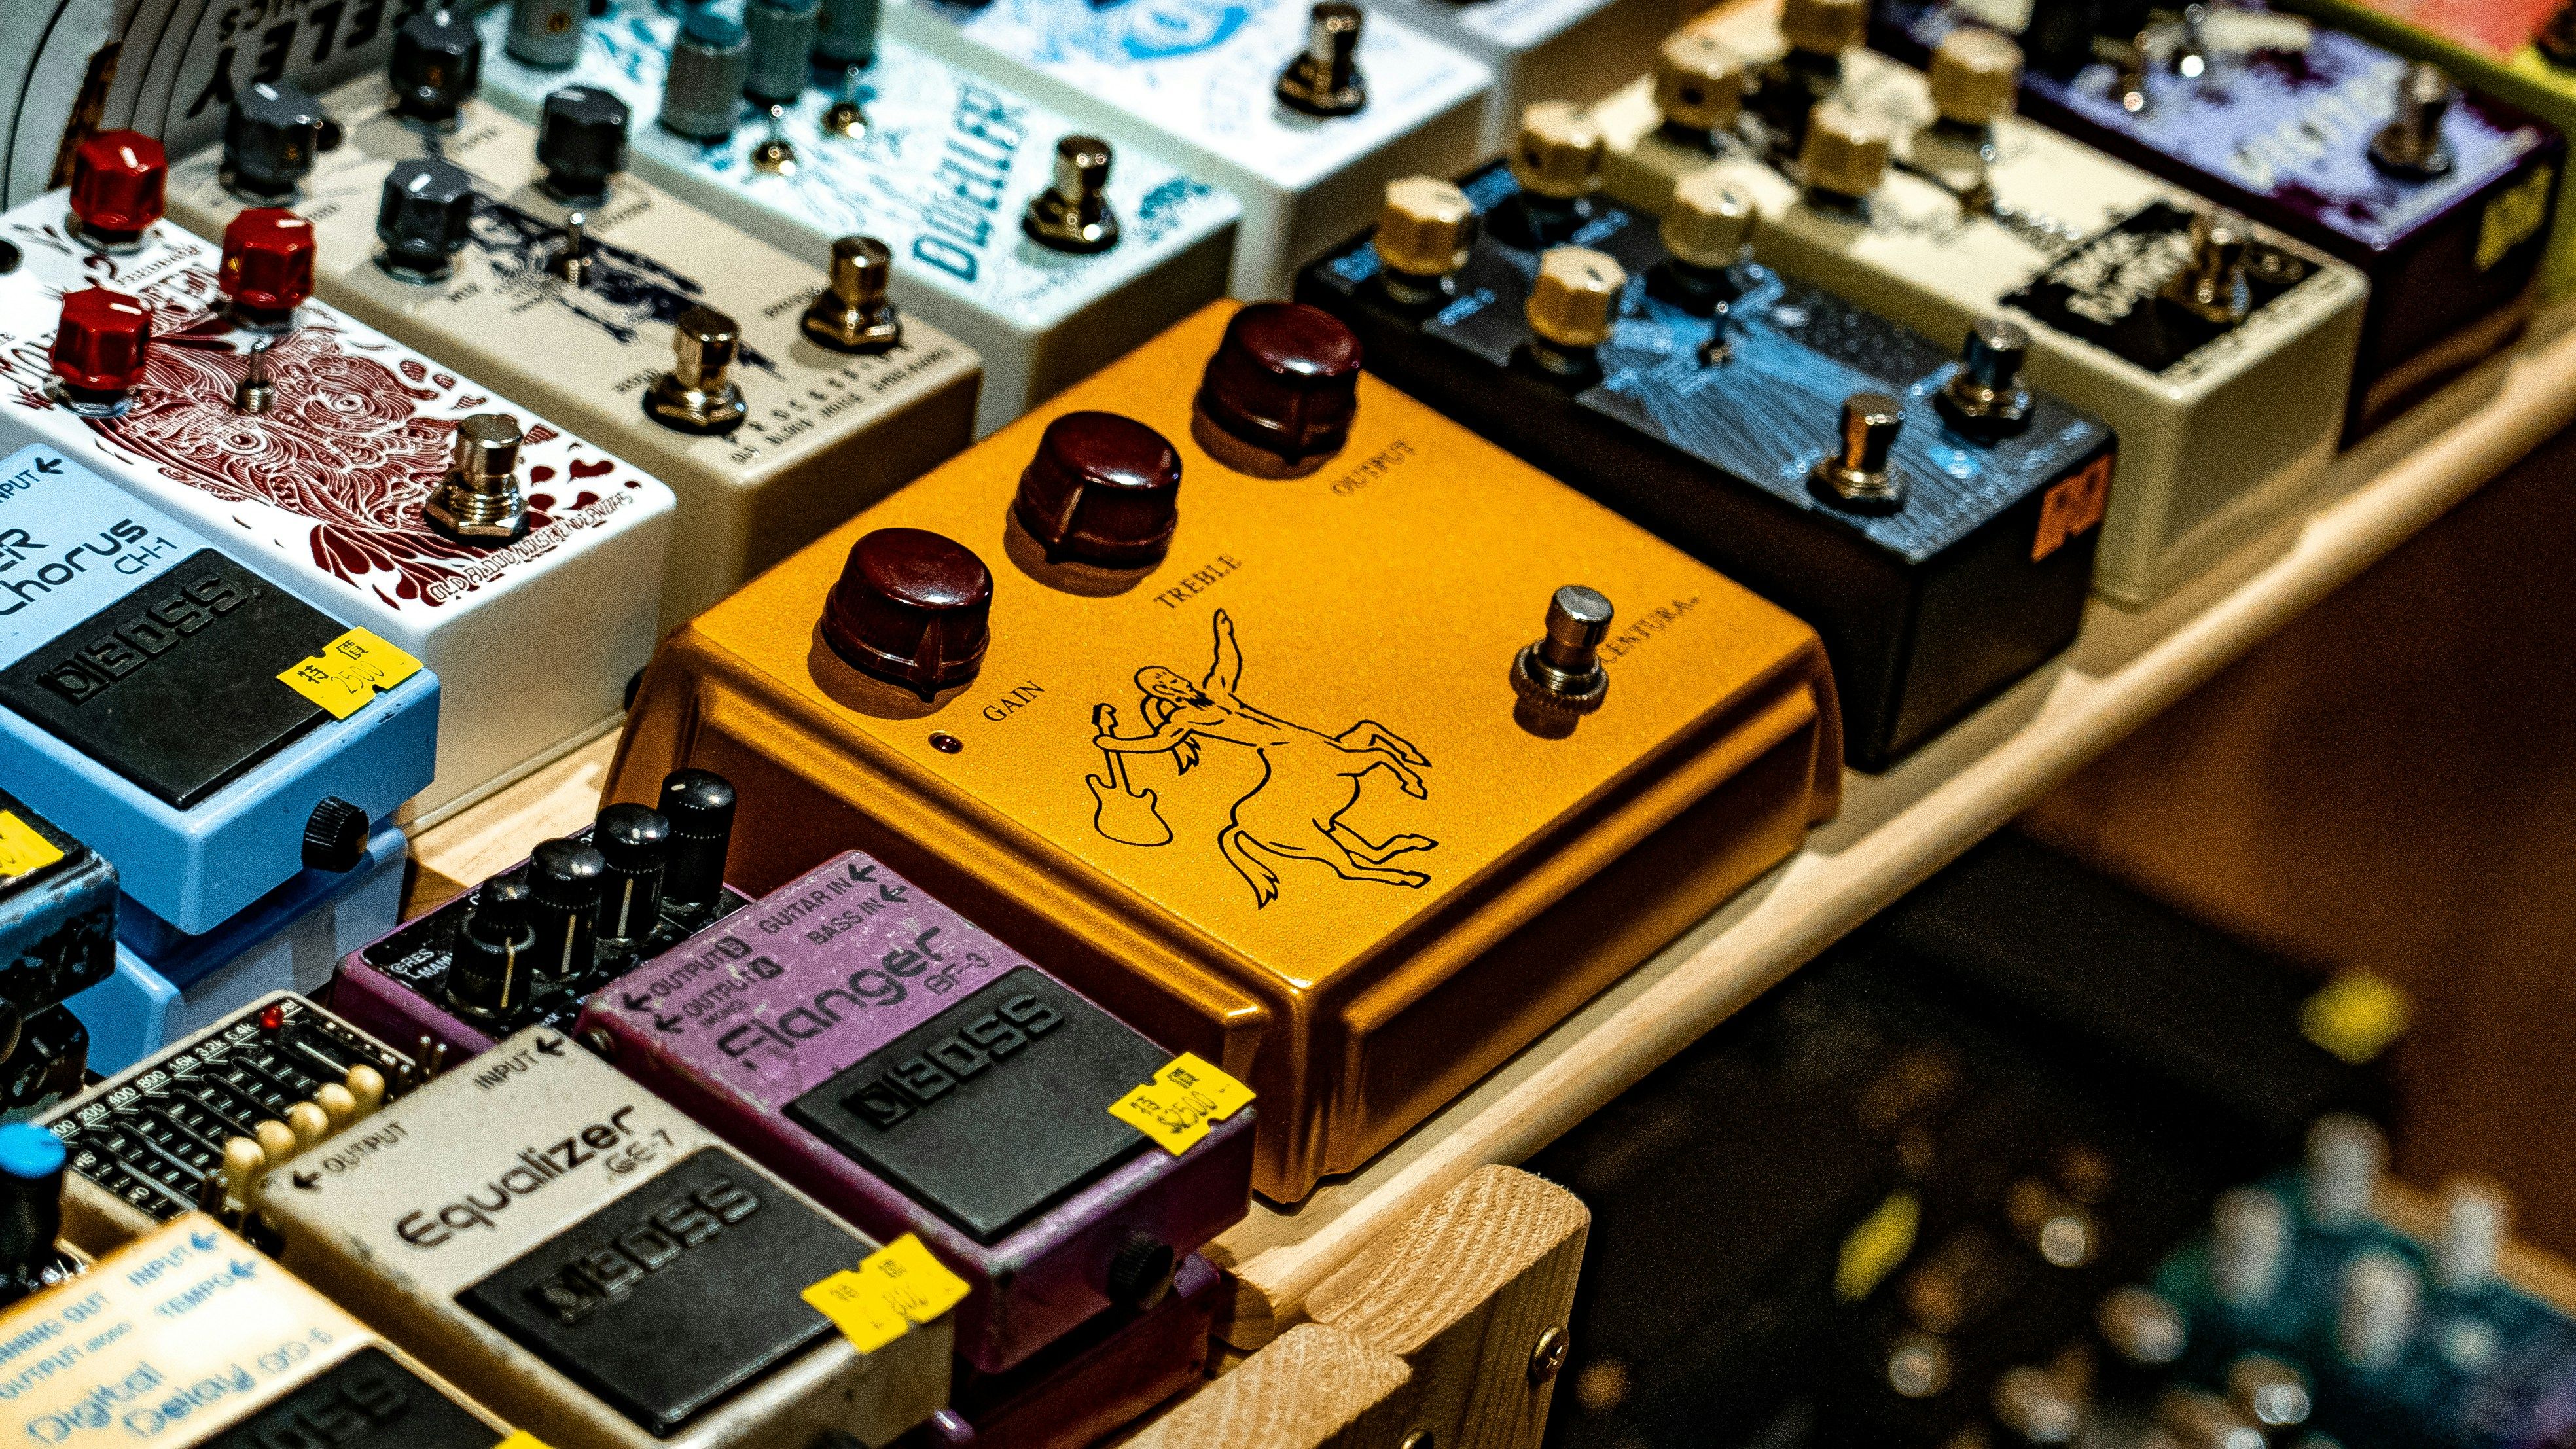
Guitar pedals can be categorized into several types, each serving a distinct purpose:
- Dynamics: These pedals, including compressors and EQs, affect the volume and dynamic range of your guitar's signal.
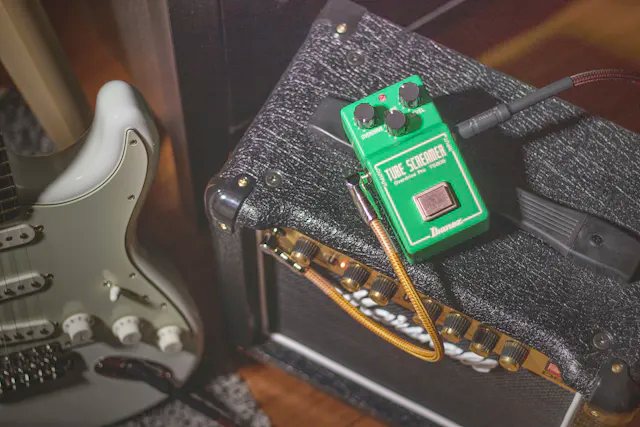
- Gain Stage: Overdrive, distortion, and fuzz pedals fall into this category, adding grit and intensity to your sound.
- Modulation: Chorus, flanger, and phaser pedals modulate the signal to create movement and texture.
- Time-based Effects: Delay and reverb pedals fall into this category, adding space and echo to your tone.
Understanding these categories is the first step toward mastering your signal chain, as each type of effect interacts with others in unique ways.
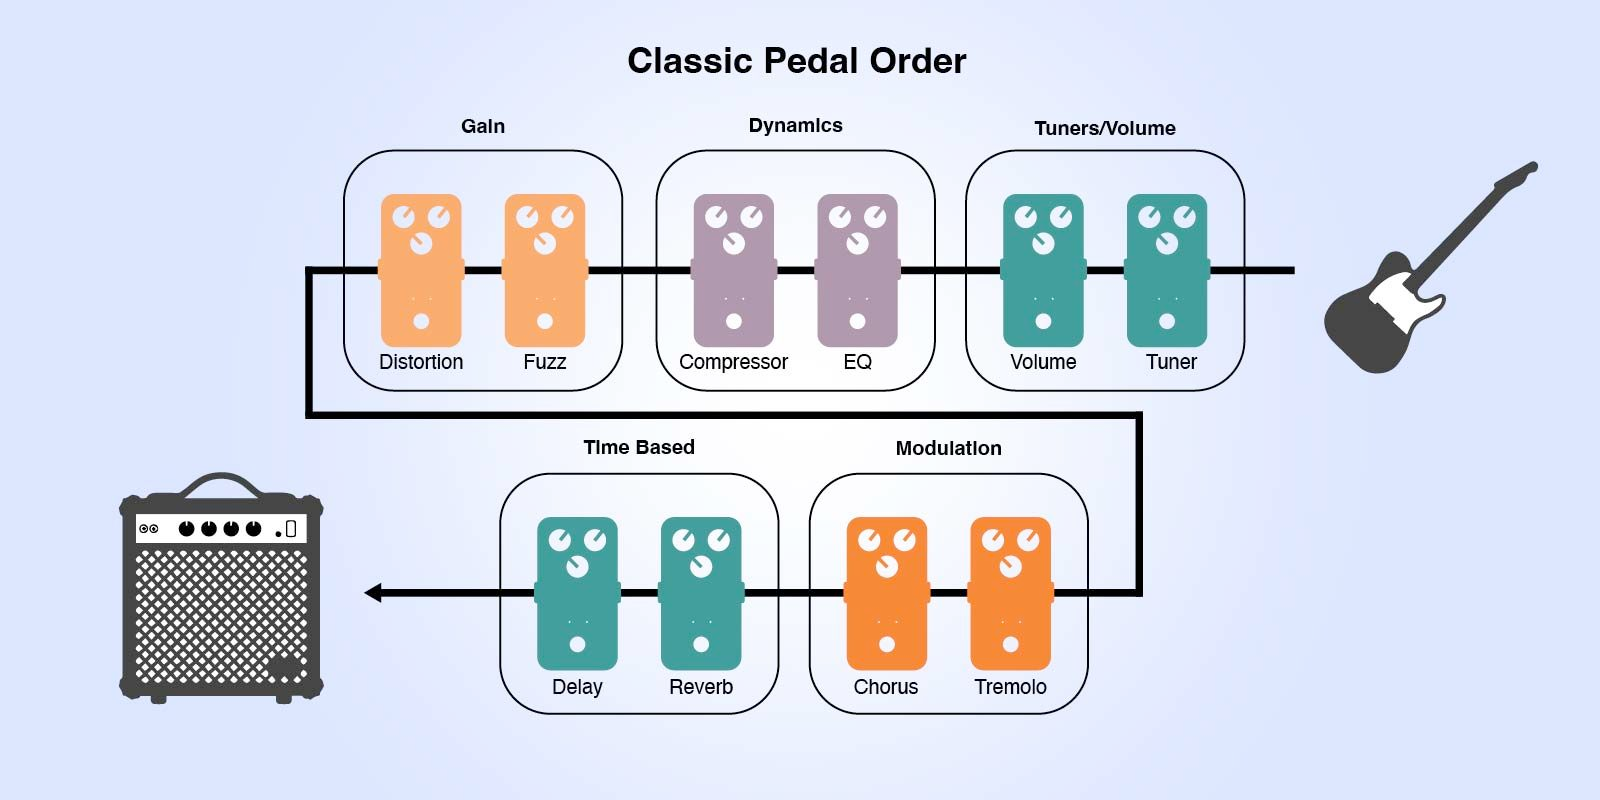
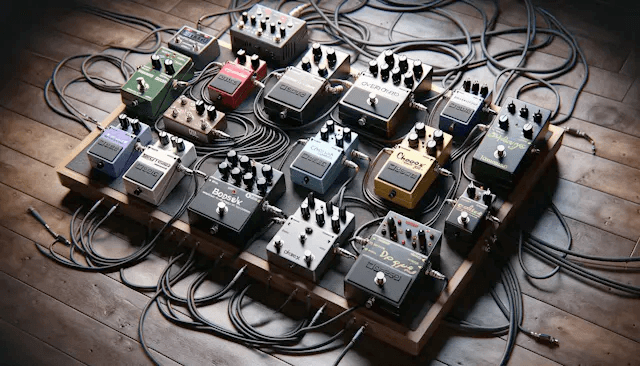
The Standard Signal Chain Order
When setting up a pedalboard, the order in which you connect your pedals can significantly impact your overall sound. While there's room for creativity and personal preference, a standard signal chain order serves as a reliable starting point for achieving a clear, balanced tone. Here's a closer look at the conventional pedal arrangement and the rationale behind it:
1. Tuners
- Placement: First in the chain.
- Purpose: Allows for accurate tuning by receiving the cleanest possible signal from your guitar.
- Benefit: Ensures that all effects downstream are processing a signal that is in tune, maintaining tonal integrity.
2. Dynamics
- Examples: Compressors, EQs, and sometimes noise gates.
- Placement: After the tuner.
- Purpose: These pedals shape the dynamic range and tonal balance of your signal. Compressors smooth out volume spikes and increase sustain, while EQs adjust the balance of frequencies.
- Benefit: By placing these early in the chain, you ensure that the signal is even and tonally balanced before it's modified by more dramatic effects.
3. Gain Stage
- Examples: Overdrive, distortion, fuzz.
- Placement: After dynamics.
- Purpose: These pedals modify the signal's gain structure, adding harmonic content and saturation. The placement after dynamics ensures that the signal driving these pedals is consistent, allowing for predictable and controlled distortion.
- Benefit: Gain pedals can dramatically shape your sound's character, and placing them before modulation and time-based effects allows for a more natural interaction between the effects.
4. Modulation
- Examples: Chorus, flanger, phaser, tremolo.
- Placement: After the gain stage.
- Purpose: Modulation effects add depth, movement, and texture to the sound. Placing them after distortion ensures that the modulation applies to the already shaped and distorted signal, creating a more cohesive sound.
- Benefit: These effects can make the tone richer and more complex. Positioning them before time-based effects allows for a cleaner application of delay or reverb.
5. Time-based Effects
- Examples: Delay, reverb.
- Placement: Last in the chain.
- Purpose: Delay and reverb add space and ambiance to the signal. Placing these effects last ensures that all previously processed sounds are uniformly affected, creating a sense of coherence and depth.
- Benefit: Time-based effects can muddy the sound if placed too early in the chain. By positioning them at the end, they envelop all the prior effects in a spatial context, enhancing the overall texture without overwhelming the core tone.
Why This Order Works
This sequence follows a logical flow, starting from the most fundamental sound shaping (tuning and dynamics) to gain structure, then adding texture (modulation), and finally, space (time-based effects). It mirrors the signal's journey from the guitar through to the amplifier, ensuring that each effect can operate on a stable, predictable base, thus avoiding tone degradation or unwanted noise.
However, while this order is a great starting point, it's not a strict rulebook. Many famous guitarists and producers have discovered unique and iconic sounds by deviating from this template. The key is to understand the role each type of effect plays in your signal chain and how changing the order can unlock new and exciting sounds.
In the next section, we'll explore how experimenting with your pedal order can lead to unique tonal discoveries, demonstrating that while the rules provide a foundation, breaking them can lead to innovation.
Experimenting with Order for Unique Sounds
While the standard signal chain order offers a solid foundation for achieving a balanced and harmonious sound, the world of guitar pedals is all about creativity and personal expression. Breaking away from traditional configurations can lead to the discovery of distinctive tones and soundscapes. Here's how you can safely experiment with your pedal order to craft sounds that set you apart.
The Art of Rearrangement
- Flipping the Script: Try placing time-based effects like delay or reverb before your distortion or overdrive pedals. This reversal can create a lush, atmospheric texture, as the distorted sound is being echoed rather than the echo being distorted, resulting in a smoother, more integrated effect.
- Dynamic Modulations: Positioning a modulation pedal such as a phaser or chorus before your gain stage can produce a subtler, more intrinsic modulation effect, as the distorted tone will accentuate the modulation's characteristics.
- Creative Compressions: Moving a compressor after your gain pedals can offer a different take on dynamics, by evening out the volume of the distorted signal and adding sustain to the already overdriven sound.
Iconic Examples
Many legendary guitarists have famously flouted conventional wisdom regarding pedal order to create their signature sounds:
- Jimi Hendrix: Known for placing a wah pedal before distortion, Hendrix created a more expressive and pronounced wah effect that became integral to his sound.
- Eddie Van Halen: By running his phaser and flanger after distortion, Eddie achieved a distinctive swooshing sound that cut through the mix and defined many of his solos.
- The Edge (U2): The Edge’s innovative use of delay before distortion provides a rhythmic foundation that becomes more pronounced and integral to the song's texture.
- Kevin Shields (My Bloody Valentine): Shields is renowned for his extensive use of reverse reverb and tremolo effects to create the lush, ethereal soundscapes that define My Bloody Valentine’s signature shoegaze sound. Experimenting with the order and combination of these effects, he achieves a dense, swirling texture that blurs the lines between rhythm and melody.
- Bilinda Butcher (My Bloody Valentine): Working alongside Shields, Butcher also employs a distinctive array of effects, including reverse reverb and various modulation pedals, to craft her part of the band’s immersive, sonic wall. Her setup, though similar, is used to complement and contrast Shields’, showcasing how different configurations can work together to create a cohesive sound.
- J Mascis (Dinosaur Jr.): Known for his loud, feedback-drenched solos, Mascis often places a fuzz pedal before a delay, creating a cascade of elongated, saturated notes that define many of Dinosaur Jr.'s tracks. This unconventional order amplifies the intensity of the feedback and sustain, contributing to his signature sound.
- Robin Guthrie (Cocteau Twins): Guthrie's guitar work is characterized by its lush, dreamy quality, achieved through a combination of chorus, delay, and reverb effects. By experimenting with the order of these pedals, Guthrie crafts spacious, ambient textures that are a hallmark of the Cocteau Twins' ethereal sound.
Tips for Experimentation
- Start Simple: Begin with swapping just one or two pedals in your chain to understand the impact of each change.
- Document Changes: Keep a record of your configurations and the resultant sounds. This can be invaluable in recreating or refining your setups.
- Listen Carefully: Pay close attention to noise levels and tone quality with each configuration. Some arrangements may introduce noise or signal loss, which you'll want to mitigate.
Embracing Experimentation
These artists exemplify how deviating from conventional pedal arrangements can lead to groundbreaking musical innovation. Kevin Shields and Bilinda Butcher’s use of reverse reverb not only defined the shoegaze genre but also showcased how rearranging the signal chain can create entirely new sonic landscapes. Similarly, the dense, feedback-laden sounds of J Mascis and the ethereal, ambient textures produced by Robin Guthrie demonstrate the wide-ranging possibilities that pedal experimentation can unlock.
By drawing inspiration from these iconic musicians, you can begin to see your pedalboard not just as a series of effects, but as an instrument in its own right, capable of producing a vast array of sounds limited only by your imagination and willingness to experiment.
The Importance of an Open Mind
The beauty of experimenting with pedal order lies in the unexpected. What works for one guitarist may not work for another, and what’s traditionally "correct" may not align with your creative vision. Approach experimentation with an open mind and a willingness to explore the full range of your pedals' capabilities. Remember, there are no mistakes here, only discoveries waiting to be made.
By embracing the philosophy that your pedalboard is a personal canvas for sonic exploration, you encourage innovation and individuality in your music. Whether you’re seeking to emulate the iconic tones of guitar heroes or chart your own course into unexplored tonal territories, the freedom to rearrange and experiment with your signal chain is a powerful tool in your quest for the perfect sound.
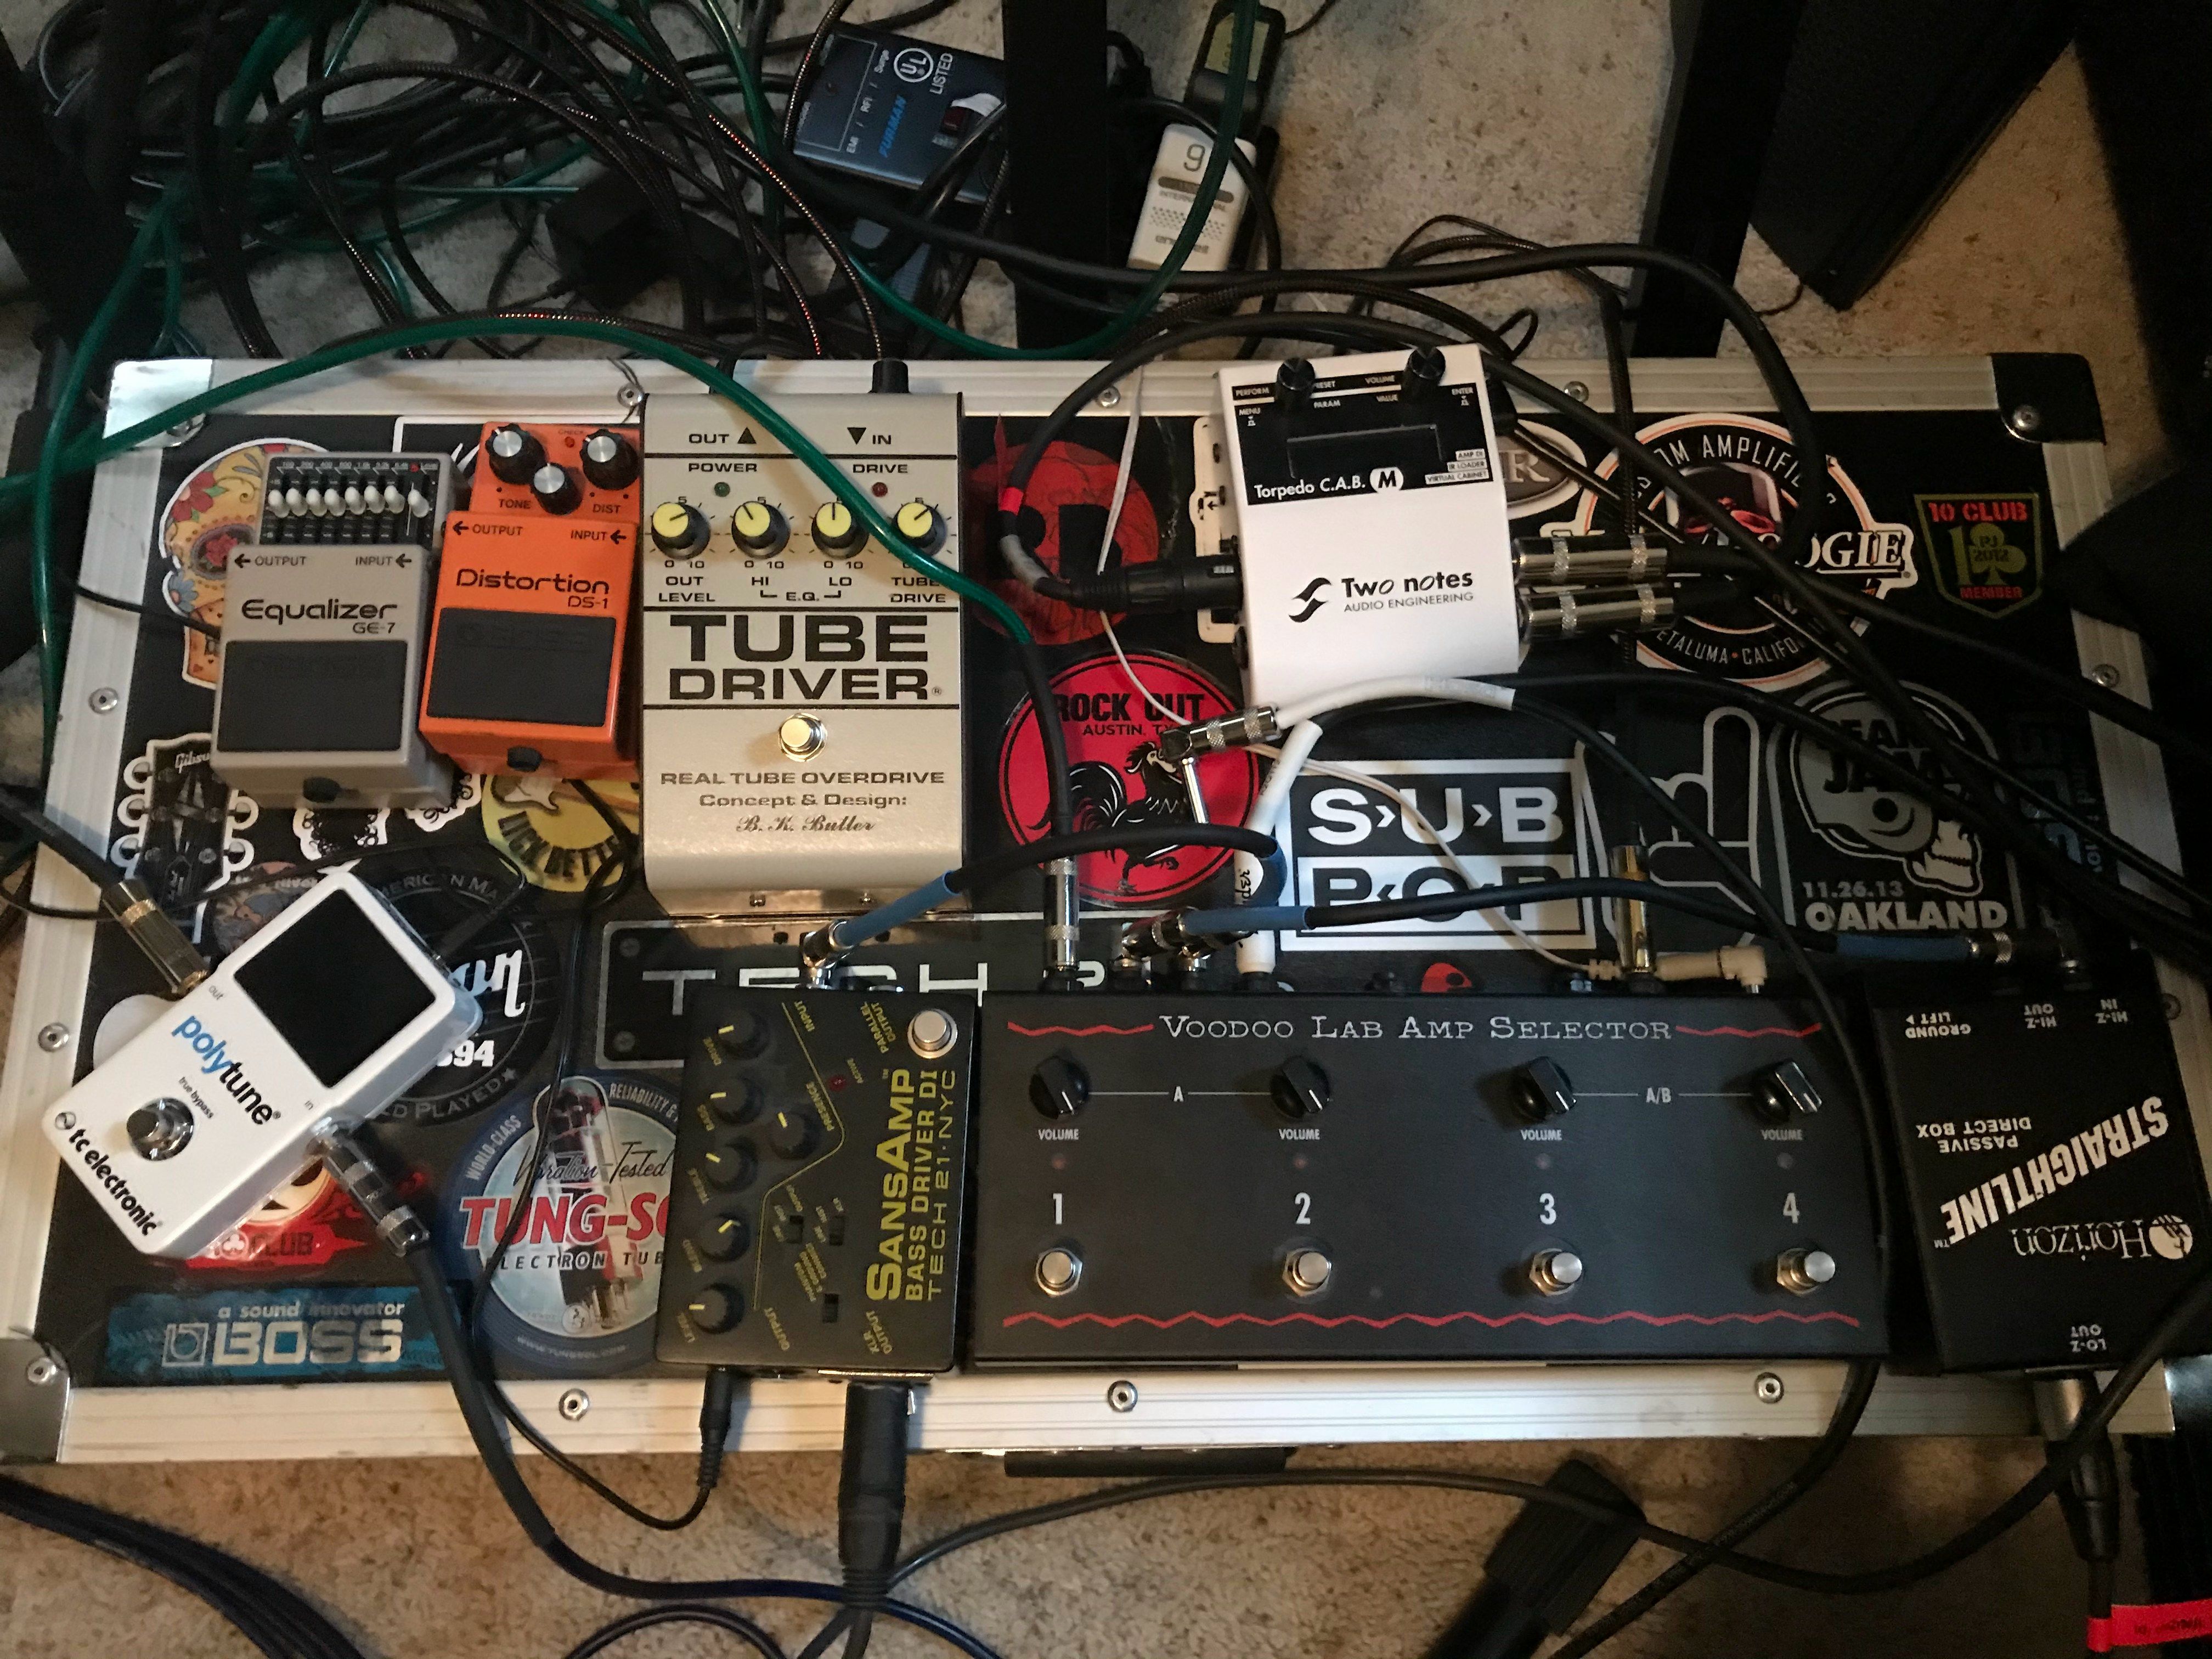
Additional Tips for Optimizing Your Signal Chain
Achieving the perfect tone goes beyond just experimenting with your guitar pedal order. The quality of your signal chain can be significantly enhanced with attention to a few key details. Here's how you can optimize your pedalboard setup for the best possible sound.
Importance of Power Supply
- Isolated Power Supplies: Utilize isolated power supplies to reduce noise and hum in your signal chain. These units provide dedicated power to each pedal, minimizing interference between effects.
- Voltage and Current Requirements: Ensure that each pedal receives the correct voltage and sufficient current. Using the wrong power specifications can lead to noise issues or even damage your pedals.
Cable Quality and Management
- High-Quality Cables: Invest in high-quality instrument and patch cables with solid shielding. Better cables can reduce signal loss and interference, preserving the integrity of your tone.
- Cable Length: Keep cable runs as short as possible to minimize tone loss. Excessive cable length can degrade your signal, especially high frequencies.
- Cable Routing: Avoid running audio cables parallel to power cables for extended distances to prevent electrical interference.
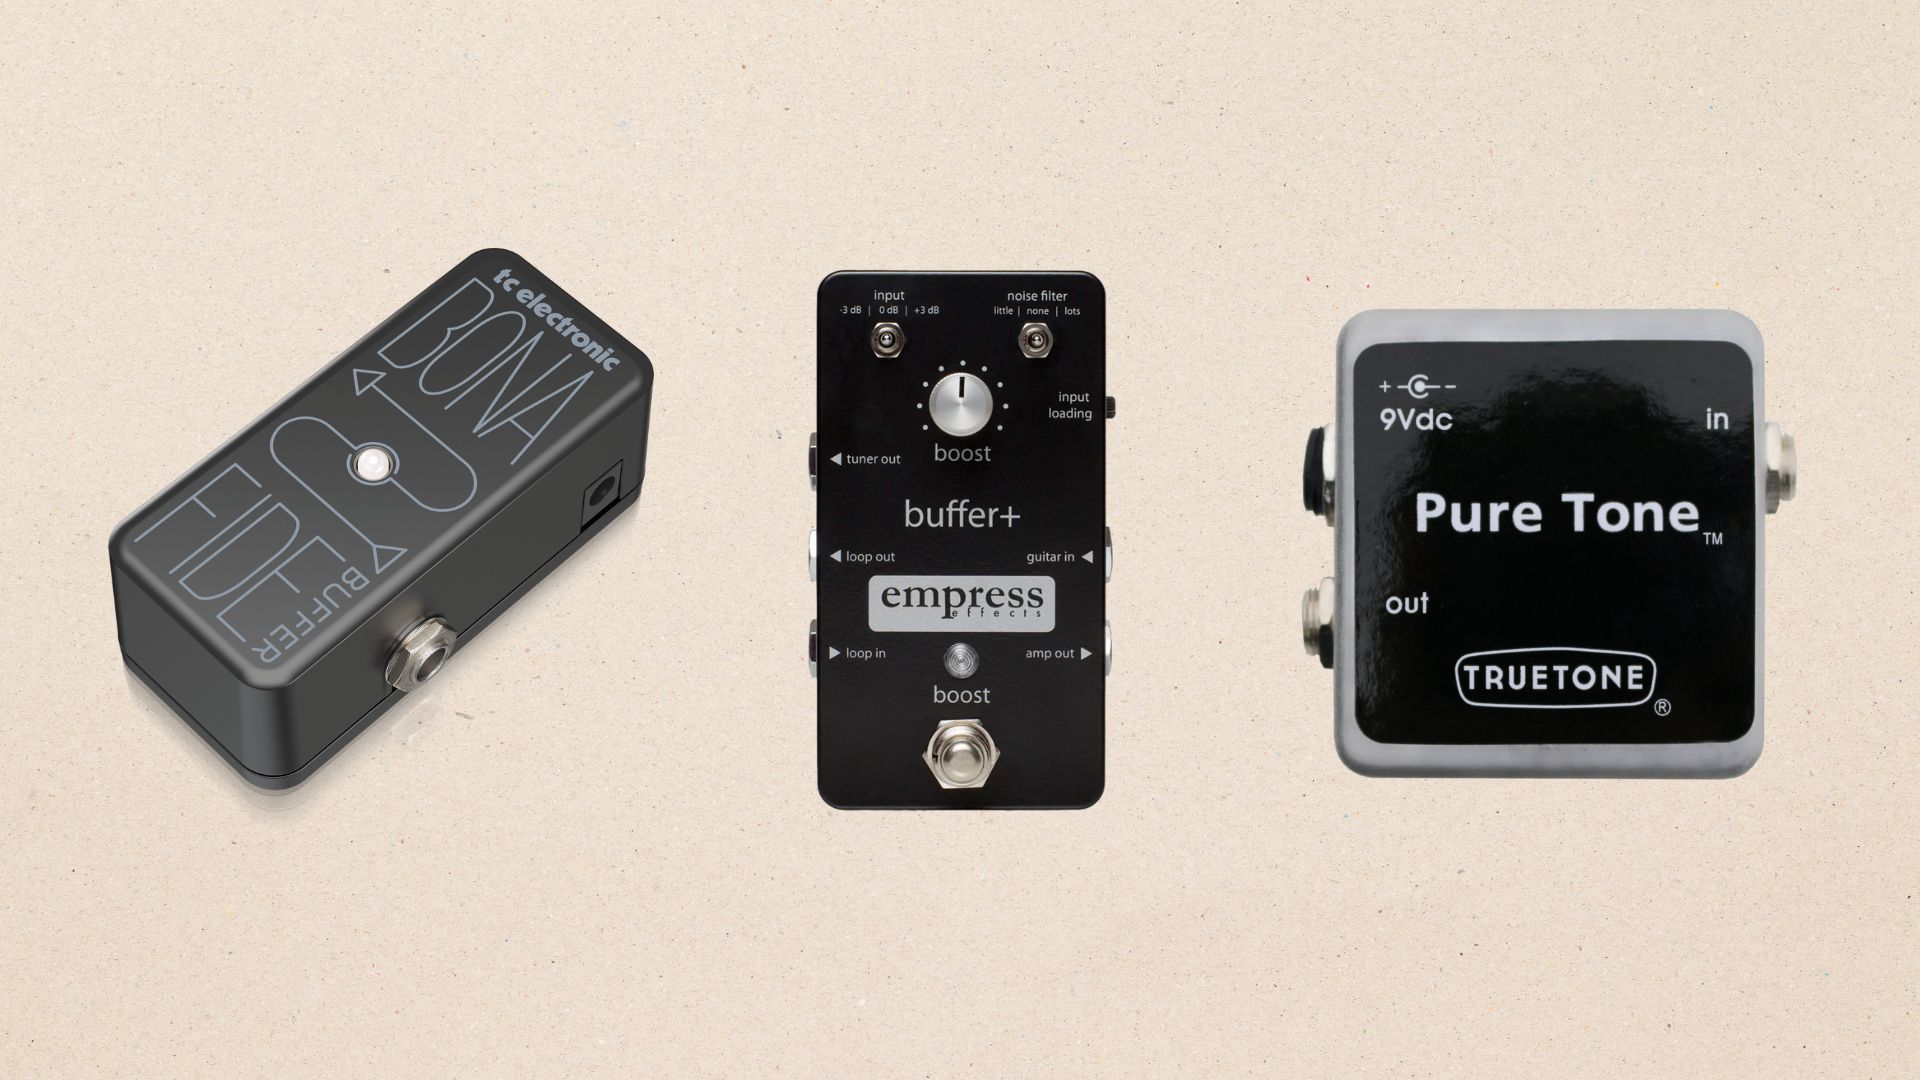
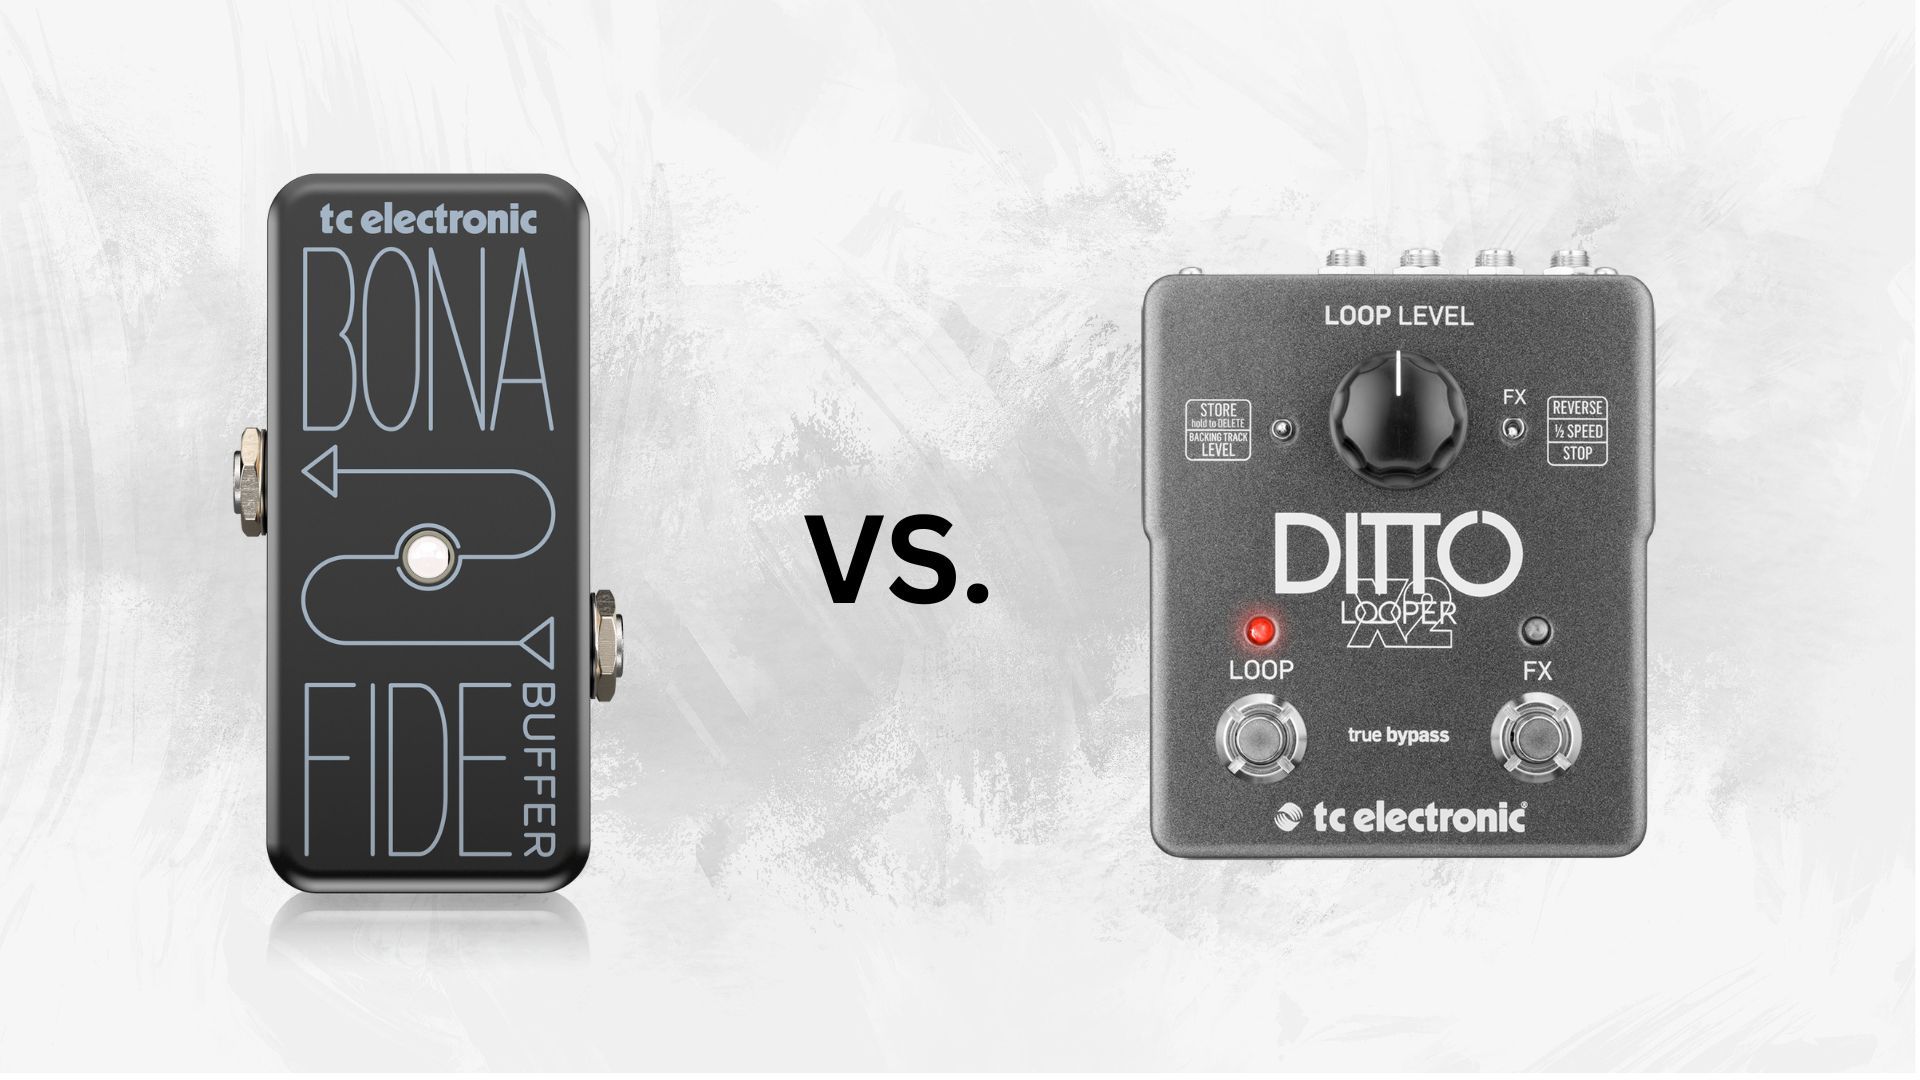
Utilizing Buffer Pedals
- Overcoming Signal Loss: Long chains of true bypass pedals can cause signal degradation due to the capacitance of the cables. A buffer pedal at the beginning (and sometimes at the end) of your chain can restore signal strength and clarity.
- Placement Considerations: While buffer pedals are generally beneficial, their placement can impact tone. Experiment with placing buffers in different parts of your chain to find the optimal spot.
Experiment with Pedalboard Planners
- Virtual Planning Tools: Before physically rearranging your pedals, consider using pedalboard planning tools. These online or app-based platforms allow you to experiment with different setups virtually, helping you visualize the signal path and identify potential issues.
- Community Feedback: Share your virtual pedalboard configurations on forums or social media groups to get feedback from other musicians. Often, the collective wisdom of experienced players can provide invaluable insights into optimizing your setup.
Testing and Tweaking
- A/B Testing: Regularly compare your optimized signal chain with previous setups to discern improvements or unintended changes in tone. This process can help refine your preferences and identify the impact of each tweak.
- Environmental Considerations: Remember that the acoustics of different venues can affect how your pedals interact with each other and with your amp. Be prepared to make minor adjustments based on the performance space.
By paying attention to these additional aspects of your pedalboard setup, you can further enhance the quality of your sound. Optimizing power supply, managing cables effectively, incorporating buffer pedals, and leveraging planning tools are all steps toward achieving a more professional and polished tone. As with all things guitar, the key is to balance technical considerations with creative experimentation, ensuring your setup not only sounds great but also inspires you to play.
Advanced Configurations: Elevating Your Pedalboard Setup
As you become more comfortable with the basics of pedal order and optimization, you might find yourself seeking even more nuanced control over your sound. Advanced pedalboard configurations, such as the use of effects loops, wet/dry setups, and parallel signal chains, can offer a new level of sonic exploration. Here’s how to incorporate these sophisticated setups into your rig.
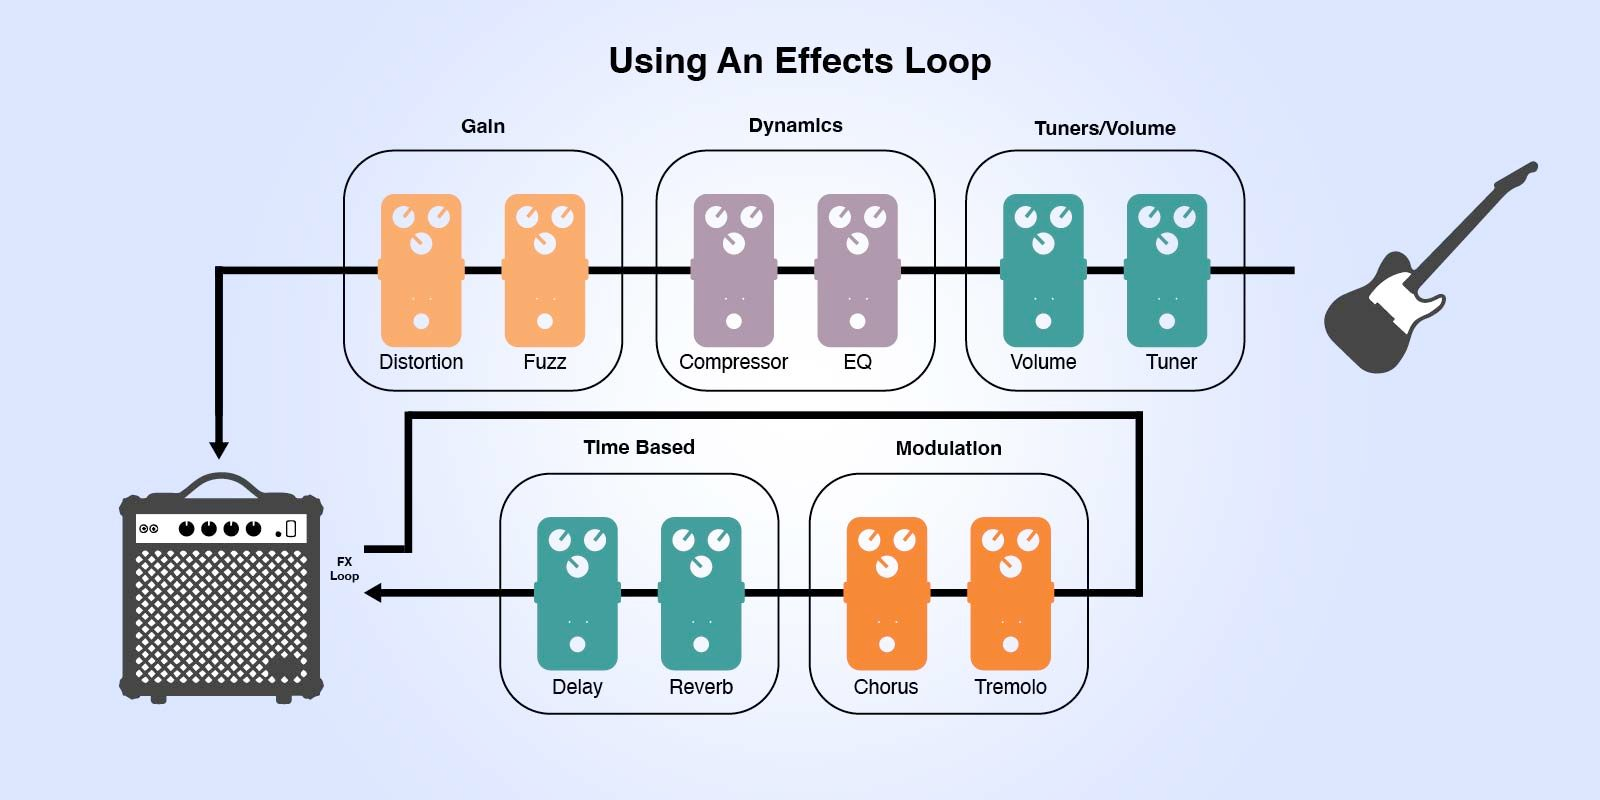
Utilizing Effects Loops
Many amplifiers come with an effects loop feature, allowing you to insert effects between the amp’s preamp and power amp sections. This placement is ideal for time-based and modulation effects, as it keeps these effects separate from the distorted signal generated by the amp’s preamp. Here’s why you might want to use it:
- Clarity and Definition: Placing delays and reverbs in the effects loop prevents them from becoming muddied by the amp’s distortion, resulting in clearer, more defined echoes and ambient effects.
- Control Over Signal Path: Effects loops give you more control over which effects are applied to the amp’s distorted tone, offering flexibility in shaping your final sound.
Wet/Dry Setups
A wet/dry setup involves splitting your signal into two paths: one that contains effects (wet) and one that remains unprocessed (dry). This can be achieved through the use of a splitter pedal or a stereo effects pedal with separate outputs. Benefits include:
- Spatial Depth and Clarity: Mixing a clean signal with an effected signal can create a sense of spatial depth that’s hard to achieve with a fully wet signal. This setup also retains the integrity of your original guitar tone, ensuring that it doesn’t get lost in the effects.
- Versatility in Soundscapes: By adjusting the balance between the wet and dry signals, you can dial in everything from subtle ambience to dramatic, immersive soundscapes.
Parallel Signal Chains
Parallel processing involves running two or more signal chains in parallel, rather than serially chaining effects. This can be accomplished with a pedal that offers multiple send/return loops or a dedicated parallel mixer pedal. Parallel processing allows for:
- Complex Textures: By processing different effects in parallel, you can create complex textures that would be difficult or impossible to achieve with a serial signal chain.
- Preservation of Dynamics: Running effects in parallel, rather than stacking them serially, can help preserve the dynamics of your playing, as each effect processes a clean signal rather than the output of the previous effect.
Implementation Tips
- Experimentation is Key: As with basic pedal setups, experimenting with advanced configurations is crucial. What works for one player or genre may not work for another.
- Quality Gear Matters: To effectively implement these advanced setups, you may need to invest in additional equipment, such as ABY switches, line selectors, or specific pedals designed for parallel processing.
- Mind the Learning Curve: While these setups can offer incredible sonic benefits, they also come with a steeper learning curve. Take the time to understand how each component interacts with the others.
Advanced pedalboard configurations open up a world of creative possibilities, allowing you to craft highly individualized tones and effects combinations. Whether you’re playing on a professional stage or simply exploring sounds in your home studio, these setups can elevate your music to new heights. As always, the key to mastering these configurations is patience, practice, and a spirit of exploration.
Common Questions Answered
Embarking on your journey with guitar pedals and signal chains raises many questions. Here, we address some of the most common queries to help demystify the process and encourage further exploration.
Can I place a delay pedal before distortion?
- Answer: Yes, you can, but it will produce a different effect compared to the more common placement after distortion. Placing delay before distortion results in each echo being distorted, which can lead to a more aggressive and less distinct echo effect. Experiment to see if this unique sound suits your musical style.
What happens if I change the order of my modulation effects?
- Answer: Changing the order of modulation effects like chorus, phaser, and flanger can significantly alter your sound. For example, a phaser placed before a chorus might offer a subtler modulation than if the order were reversed. There's no wrong order; it's all about the sound you prefer.
Does the quality of patch cables really matter?
- Answer: Absolutely. High-quality patch cables can reduce noise and signal loss, ensuring that the true character of your guitar and effects are preserved. Investing in good cables is investing in the quality of your sound.
How do I know if I need a buffer pedal?
- Answer: If you're experiencing a loss of high frequencies or your signal feels weak after running through several pedals, especially with long cable runs, a buffer pedal can help. Placing a buffer at the beginning of your chain (or at both ends, in some cases) can restore signal strength and clarity.
Can effects loops on amps be used with all types of effects?
- Answer: While effects loops are generally used for time-based and modulation effects, there's room for experimentation. However, dynamics and gain-stage effects often perform best when placed before the amp's input to interact directly with the guitar's signal.
How can I reduce noise in my signal chain?
- Answer: Ensure you're using isolated power supplies, high-quality cables, and consider the use of noise gates if necessary. Also, check the order of your pedals; sometimes, rearranging them can reduce noise.
Conclusion: Crafting Your Unique Sound
Mastering your guitar pedal signal chain is a journey of exploration and experimentation. While standard guidelines provide a solid foundation, the true art lies in personalizing your setup to match your creative vision. Remember, the most iconic sounds in music history often came from breaking the rules and trying something new. Whether you're a beginner building your first pedalboard or a seasoned pro looking to refine your sound, there's always room for innovation and discovery.
Encourage feedback, share your setups, and never stop experimenting. The perfect tone might just be one pedal rearrangement away. Happy tweaking!
 Anthony Easton